Manage who has access to your workspace. Invite team members, assign roles, and organize users into groups for streamlined permission control. Stay in control of collaboration by customizing access levels for different teams, departments, or projects.
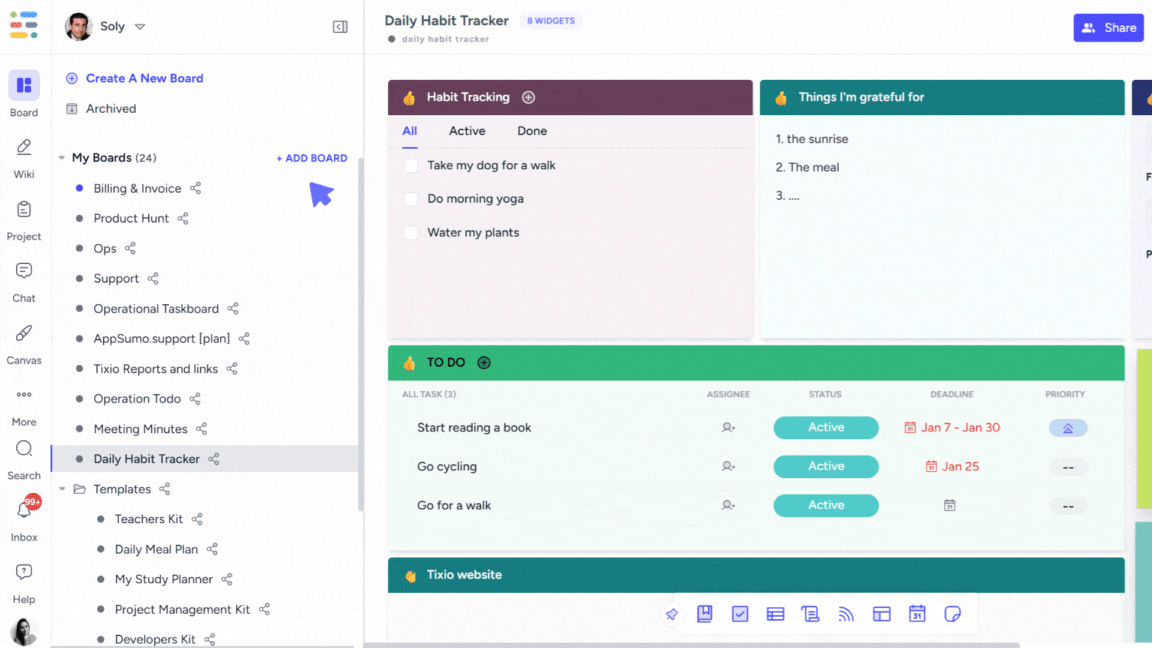
Go to Members and groups settings either from your workspace settings or clicking on your profile icon at the bottom-left corner of the screen.
You can invite unlimited members to your workspace with simple invite.
You can add or remove members from the members list under workspace settings.
All the members you added to the workspace will be able to use all features available to your subscription plan.
They can create unlimited items in the workspace and either keep it private or share with others.
One member cannot see what other members are creating in the workspace, not even Admin / Owner. So everything is you create ensures privacy and security.
We ensure complete security of your information. Your data or information is not accessible to Tixio as a company and will not be used or shared with any other third-party organizations for any purposes.
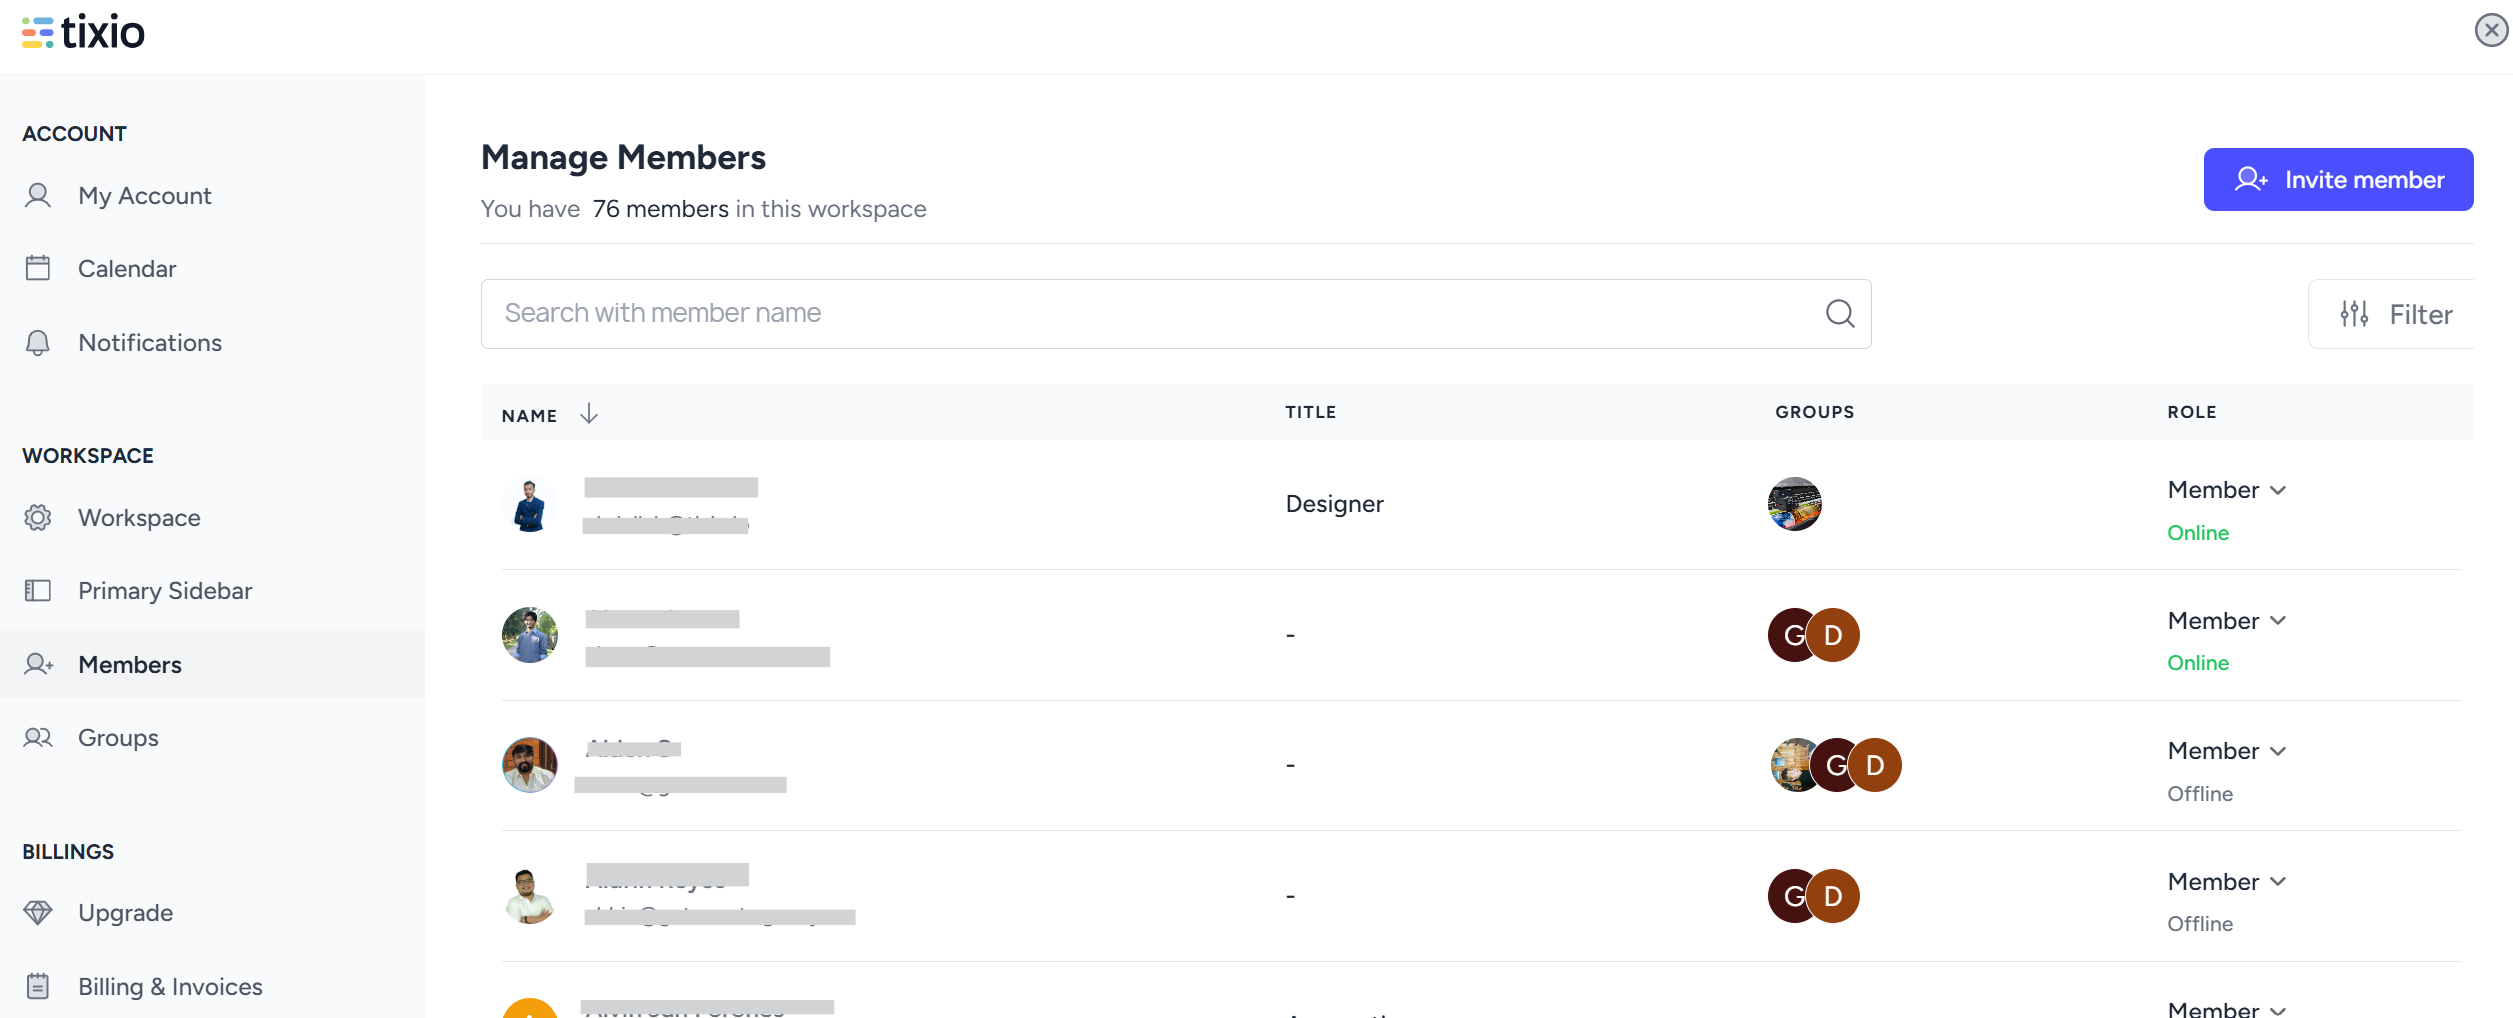
You can invite member to your workspace simply with email (any email would do). Click on the “Invite Member“ button and add email address of the user. An invitation link will be sent to the email you provided, which the invited member can use to signup and connect.
You can control roles and permissions for members by converting them between member and admins. Click on the role dropdown next to each member to make the changes.
There are two roles denoted in the workspace: Member, Admin & Owner
Member: Members have access to all features (create, edit, share) in the workspace except for workspace settings, workspace deletion, domain change, billing etc.
Admin: Admin will have access to everything in the workspace including the workspace settings. But Admin cannot delete a workspace.
Owner: Owner has full control over the workspace including the workspace deletion.

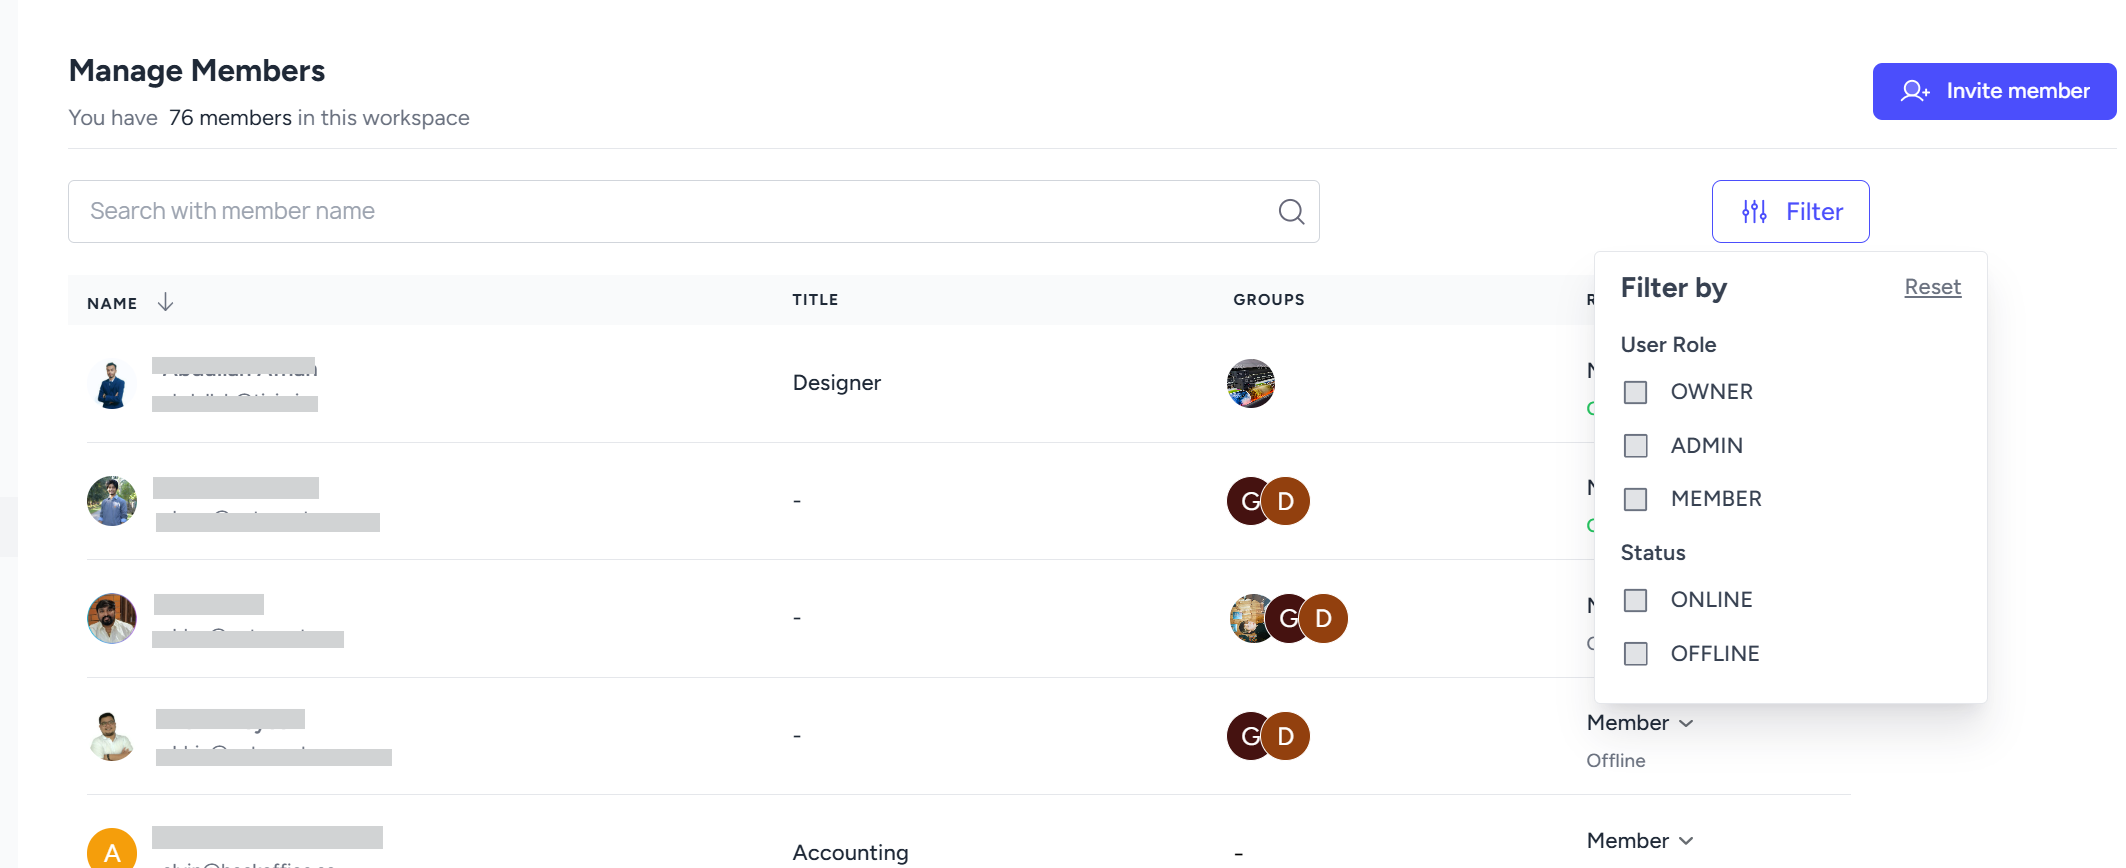
You can find members with search and filter options.
You can search a member by typing the name or email
You can filter by user role or their online status.
You can select members and create individual groups for easy sharing and accessibility. If you share an item with a group, all of its members will gain access to the item, so you can save time picking them individually.
You can create unlimited groups and subgroups inside a single workspace. In that way, you can manage multiple teams, companies within the same space.
One group member cannot see items from other groups until and unless shared.
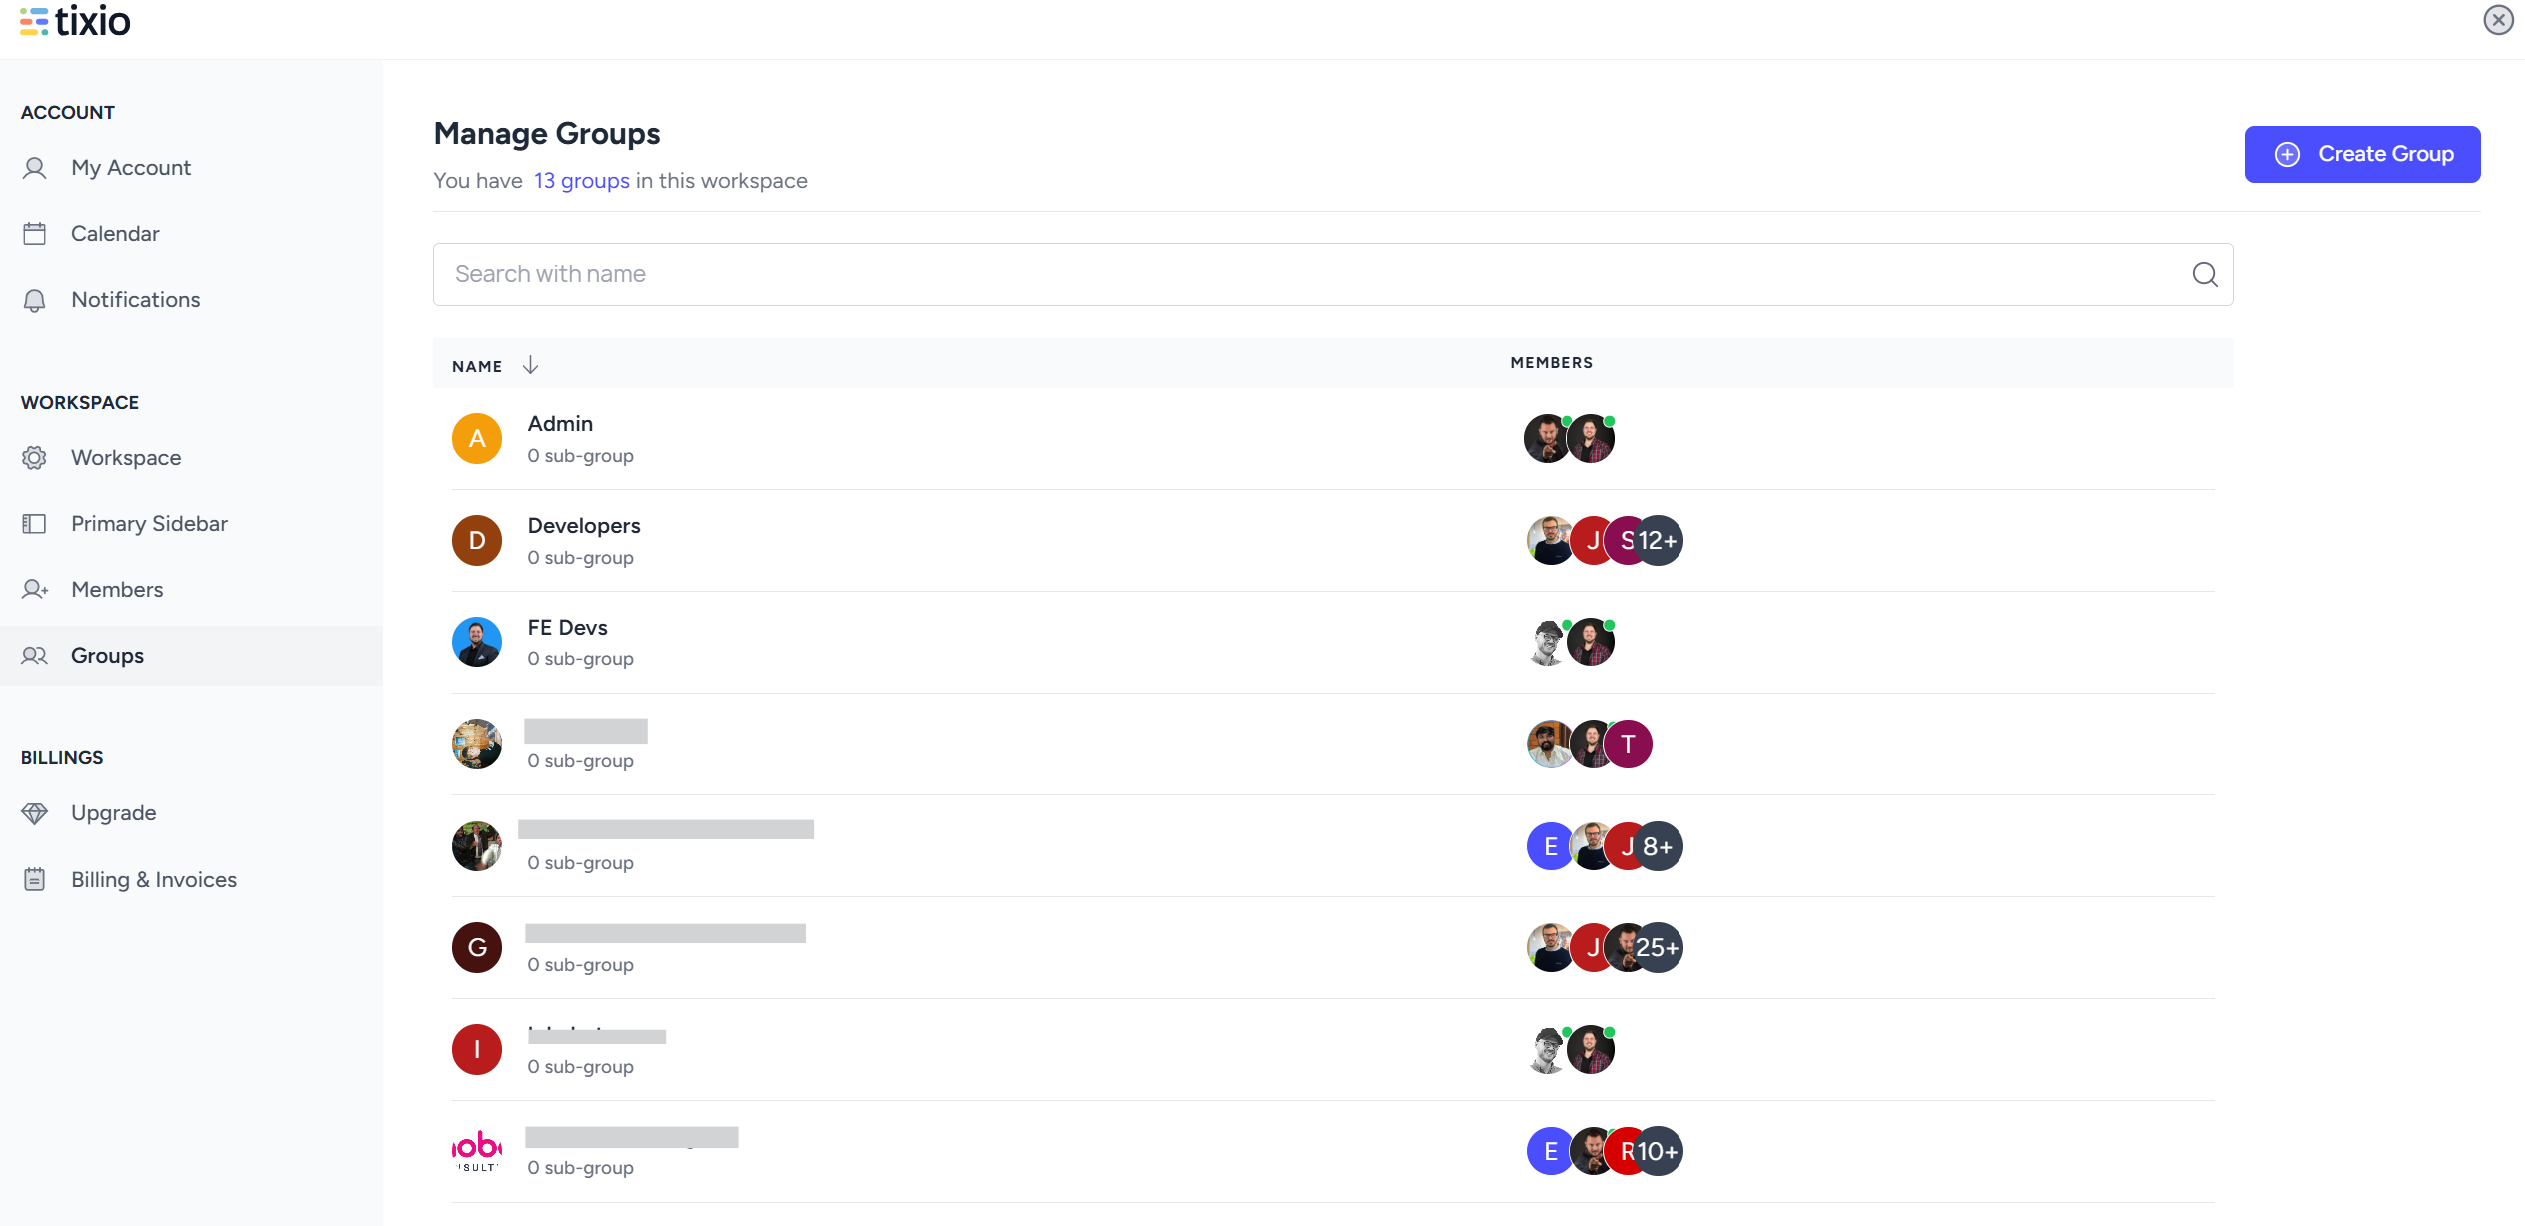
You can click on a group name to open the group settings.
You can add group members through the “Manage Members” button.
You can edit or delete the group from the 3-dot-menu next to “Manage Members”. Here you can rename the group or add descriptions.
You can also create multiple subgroups under a group to handle members separately. Each subgroup will have similar settings as a group.
You can find a member through search and filter.